Xero - NZ
Xero
Integrate Zip to your Xero software following this configuration steps.
Data Flow Diagram

Accepting Zip via Xero Invoices
See below for instructions on how to set up your Zip x Xero integration, and you can also learn more about how Zip works via Xero here.

Getting Started with Zip Xero Invoicing
The following instructions detail how to get started using Zip to invoice your customers from Xero. You’ll need your Zip Merchant Portal login to follow the steps below.
This documentation assumes you’ve already been accepted as a merchant with Zip – see here for details on how to become a Zip partner!
Step 1 – Login to your Merchant Portal
Navigate to the Merchant Portal and login using the email address and password provided to you

Step 2 – Pair your Xero Account
In the top right of the Merchant Portal screen, click the “Xero” tab
Then, click the “Connect to Xero” button

Step 3 – Login and Authorise on Xero
If you aren’t already logged in to Xero, you’ll be prompted to login.

Next, you’ll be asked if you want to Authorise Zip to connect to your Xero account. Click “Allow Access”.

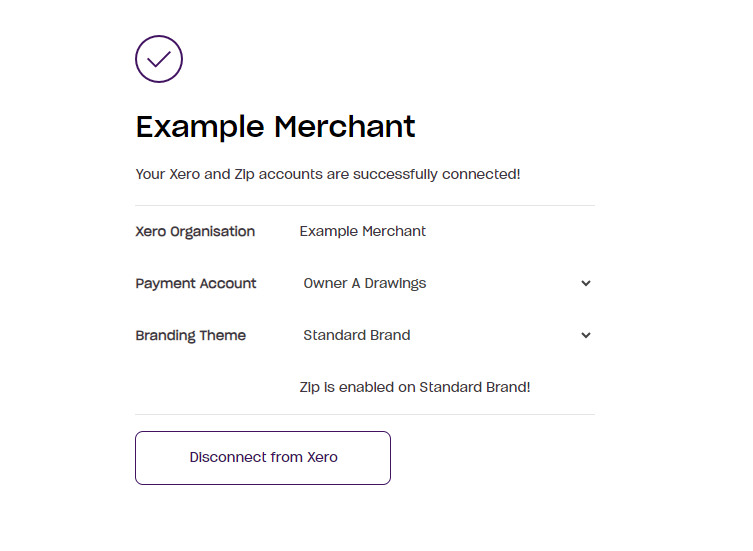
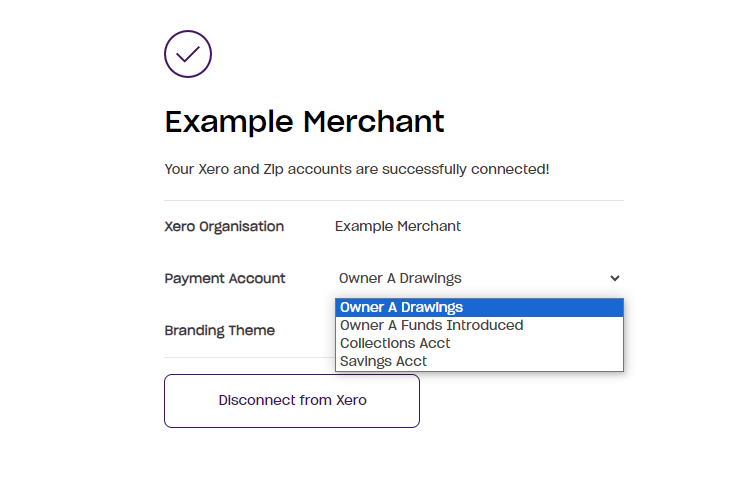
Step 4 – Select Payment Accounts & Branding Theme
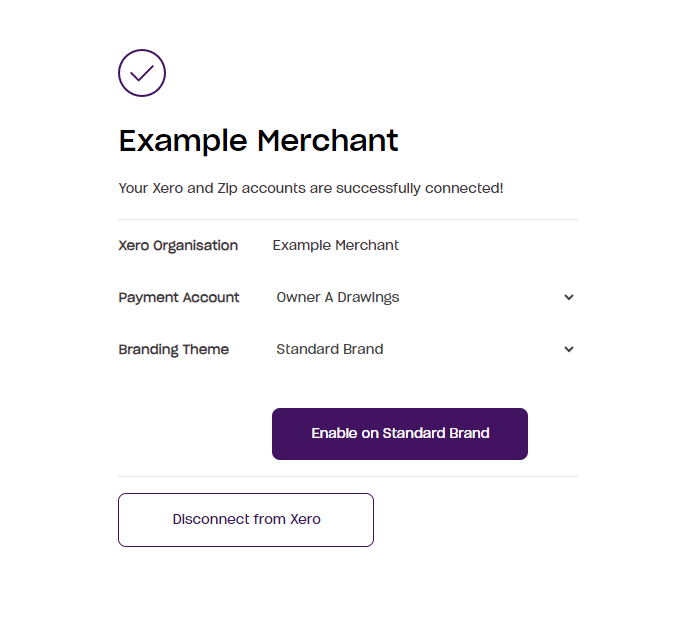
Your Xero and Zip Merchant accounts are now connected. Choose the Payment Account that you would like to use for Zip invoices. Make sure the Payment Account that you select is the same one you have elected to be paid into from Zip. Then, on the same screen, choose the Branding Theme from the dropdown that you’d like Zip on.
Once you’re happy with your selection, click on the “Enable” button.
Ready to go!
You’re now ready to start issuing invoices that can be paid through Zip! Please note that any existing invoices that have not yet been paid will also now offer Zip as a payment option.