Create a Zip landing page
Neto
Setup a Zip landing page
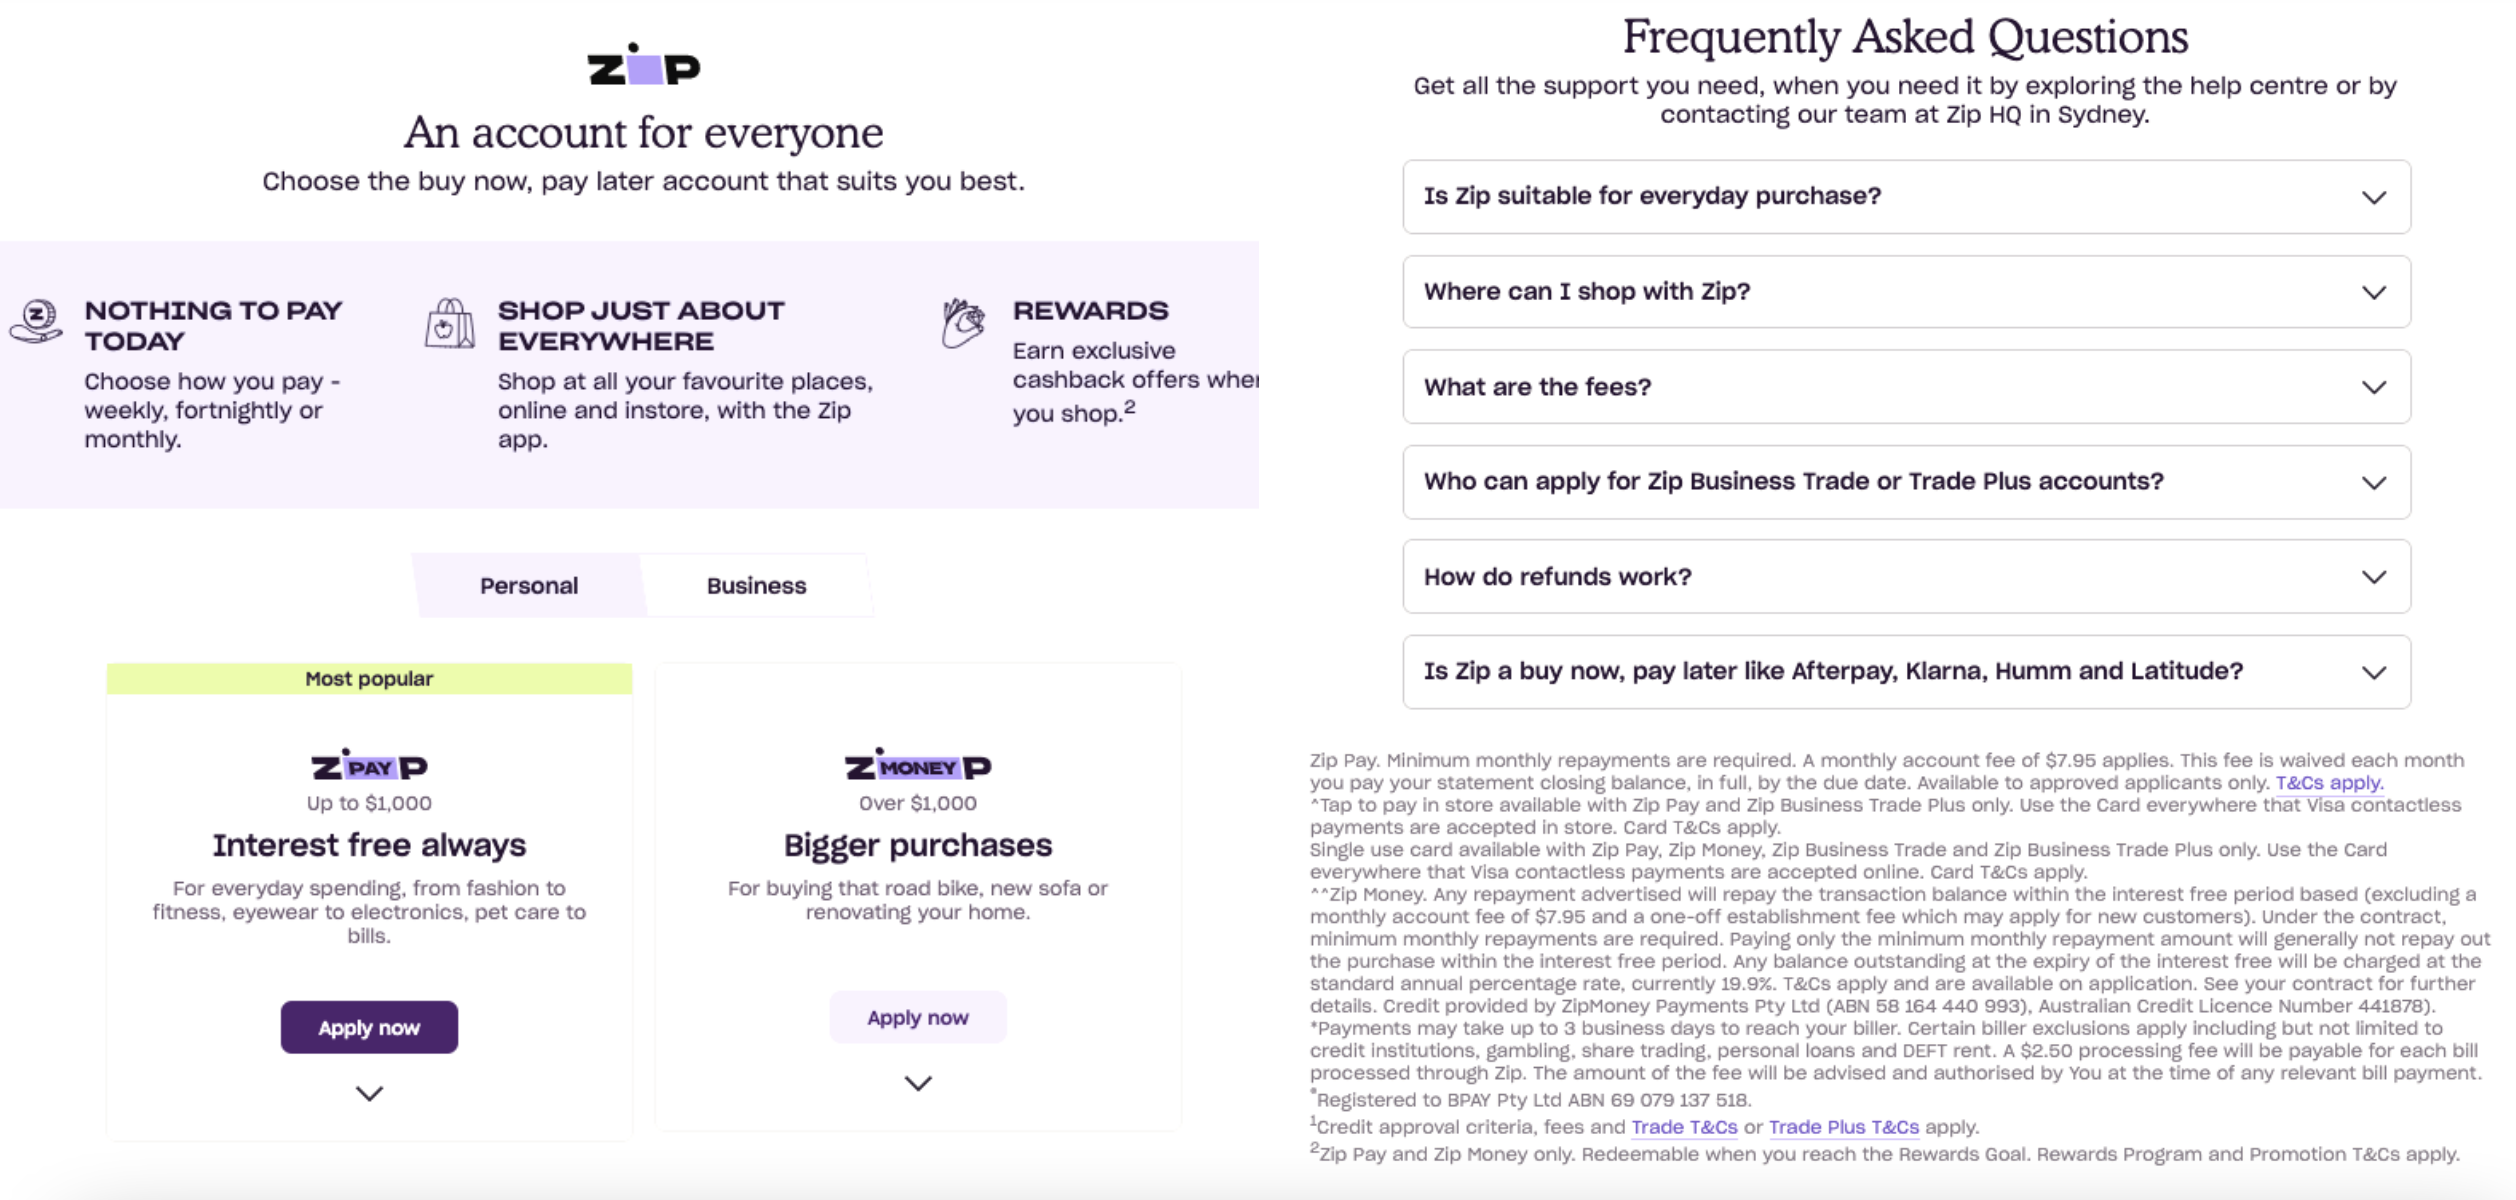
The landing page is a dedicated information page to educate customers about the Zip product, while also providing access for customers to pre-apply for their Zip accounts.
Adding the page only takes a few moments and only involves a few simple steps.

Create a new page
- In the Neto admin dashboard, navigate to Webstore > Web Page
- Click the "Add new" button in the top right-hand corner.
- Enter the page name Zip - Own it now, pay later.
- Scroll down to "Page Content" and click the "Source Code" tab
- Copy the Landing Page Code in the box below, and Paste it into the Source Code section.
<div class="tabs">
    <!-- Radio button and lable for #tab-content1 -->
    <input type="radio" name="tabs" id="tab1" checked>
    <label for="tab1">
        <i class="fa fa-htm5"></i><span>Australian Landing Page</span>
    </label>
    <!-- Radio button and lable for #tab-content2 -->
    <input type="radio" name="tabs" id="tab2">
    <label for="tab2">
        <i class="fa fa-css5"></i><span>New Zealand Landing Page</span>
    </label>

    <div id="tab-content1" class="tab-content">

        <blockquote class="callout callout_info" theme="📘"><h3 class="callout-heading empty"><span class="callout-icon">📘</span></h3><p> Australian Landing Page Example

 				</p></blockquote>
				<img class="img_box_shadow img_list" style="width:914px" src="https://zip.co/static/Readme+Guides/supported+platforms/AU-Landing-Hybrid.png"></img>
				<br>
				<br>
    </div> <!-- #tab-content1 -->

    <div id="tab-content2" class="tab-content">
        <blockquote class="callout callout_info" theme="📘"><h3 class="callout-heading empty"><span class="callout-icon">📘</span></h3><p> New Zealand Landing Page Example
          </p></blockquote>
      <img class="img_box_shadow img_list" style={{ width: "914px" }} src="https://static.zipmoney.com.au/Readme+Guides/supported+platforms/Landing+-+Desktop.png"></img>
      <br>
      <br>
			<div class="rdmd-table">
  				 <div class="rdmd-table-inner">
     				 <table>
        			 <thead>
         			</thead>
               <tbody>
               </tbody>
             </table>
  		 		 </div>
			</div>

    </div> <!-- #tab-content2 -->
    <div id="tab-content3" class="tab-content">
        <h3>#3 Tab title here</h3>
        <p>#3 Tab content here</p>
        <p>Dolor sit amet</p>
        <p>Ololo pysh pysh</p>
    </div> <!-- #tab-content3 -->
</div>

<style>
  .tabs {
    float: none;
    list-style: none;
    padding: 0;
}
.tabs:after {
    content: '';
    display: table;
    clear: both;
}
.tabs input[type=radio] {
    display:none;
}
.tabs label {
    display: block;
    float: left;
    color: #ccc;
    text-decoration: none;
    text-align: center;
    line-height: 2;
    cursor: pointer;
    padding: 10px;
    margin-left: -1px;
    position: relative;
    left: 1px;
}
/*
.tabs label span {
    display: none;
}
*/
.tabs label i {
    padding: 5px;
    margin-right: 0;
}

.tab-content {
    display: none;
    width: 100%;
    float: left;
    padding: 15px;
    box-sizing: border-box;
    background-color:#ffffff;
    border-top: 1px solid var(--sail-color-gray-100);
 	  margin-top: -3px;
}


/*
.tabs label {
    -webkit-transition: all 0.5s;
    transition: all 0.5s;
}
@keyframes scale {
  0% {
    transform: scale(0.9);
    opacity: 0;
    }
  50% {
    transform: scale(1.01);
    opacity: 0.5;
    }
  100% {
    transform: scale(1);
    opacity: 1;
  }
}
*/
.tabs [id^="tab"]:checked + label {
    border-bottom: 2px solid #1c70f2;
    color: #1c70f2;
}
#tab1:checked ~ #tab-content1,
#tab2:checked ~ #tab-content2,
#tab3:checked ~ #tab-content3 {
    display: block;
}

@media (min-width: 768px) {
    .tabs i {
        padding: 5px;
        margin-right: 10px;
    }
    .tabs label span {
        display: inline-block;
    }
}
</style>
Add the Zip landing page to the navigation menu
- In the Neto admin dashboard, navigate to Webstore > Menus
- Select the menu you wish to update.
- Click "Add new menu item"
- Change the name to Zip - Own it now, pay later or Zip - Pay Later or About Zip.
- Click "Links to..." and select "Web page" from the drop-down menu.
- In the next drop-down menu, select the Zip Landing Page.
- Click "Save"
** Great job!**
Your Zip integration is complete. We recommend reaching out to us so we can check everything is working as it should. contact [email protected] and one of our engineers will be happy to help
Updated 5 months ago
