Zip Shop Directory - Store Tile
Create a store tile
Details on how to create a store tile for the Zip stores directory page.
Make your brand stand out on our Shop Directory by creating your own branded store tile.
The details you provide will be used by Zip to market your brand, help drive traffic to your website and send shoppers in-store.
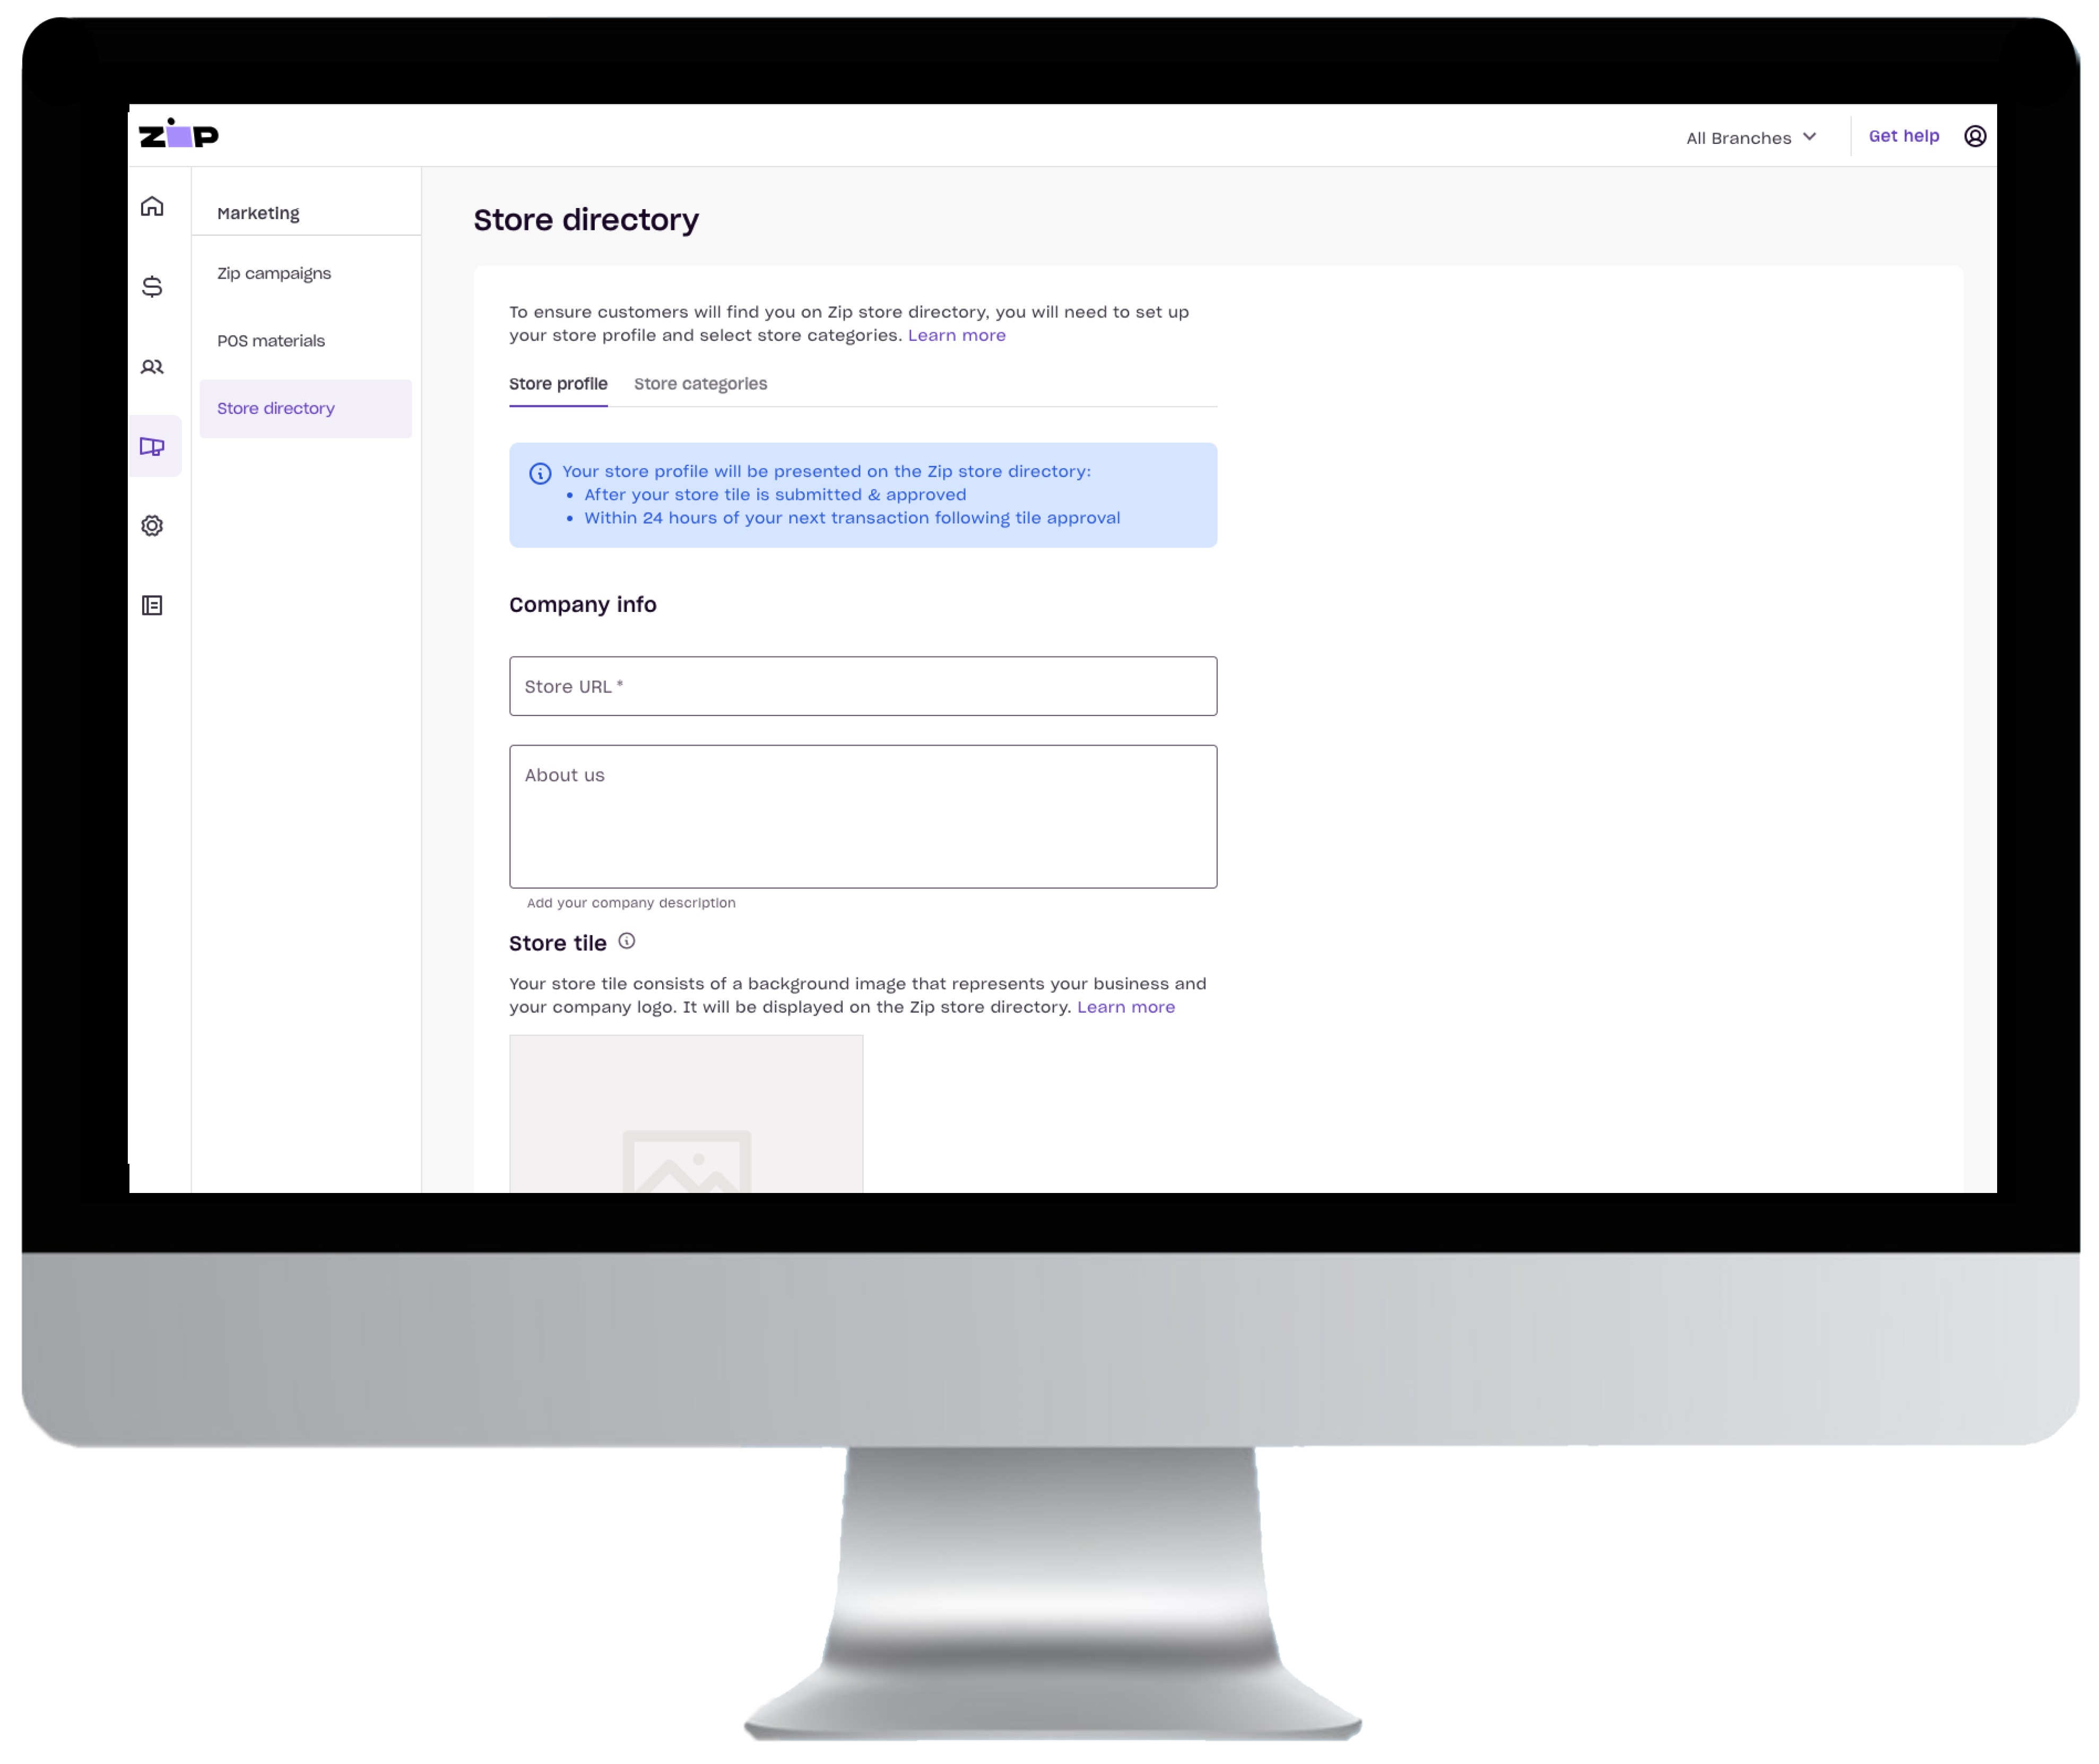
Step 1: Submitting Your Store Tile
To do this in the Zip Dashboard, follow these steps:
- Click the 'Marketing' tile from the homepage of the dashboard.
- Click 'Store Directory'.
- Fill in the required details about your business.
- Upload the brand assets for your tile:
- A Background Image: This is a lifestyle image that best represents your business (minimum size of 800px X 640px)
- Business Logo: This should be in .png format, be all white and have no background.
- Click "Submit'.
After you’ve submitted the upload, one of our marketing representatives will verify the details. You’ll receive a confirmation email when this occurs.

Example of the assets needed to submit the store tile. If you require assistance with uploading your tile, reach out to our Merchant Experience team at [email protected]. Ensure to include both your image and logo in the email.
Note:
Your tile will appear on our shop directory once you've taken your first transaction with Zip. Please allow 24 hours for the directory to update after this occurs.
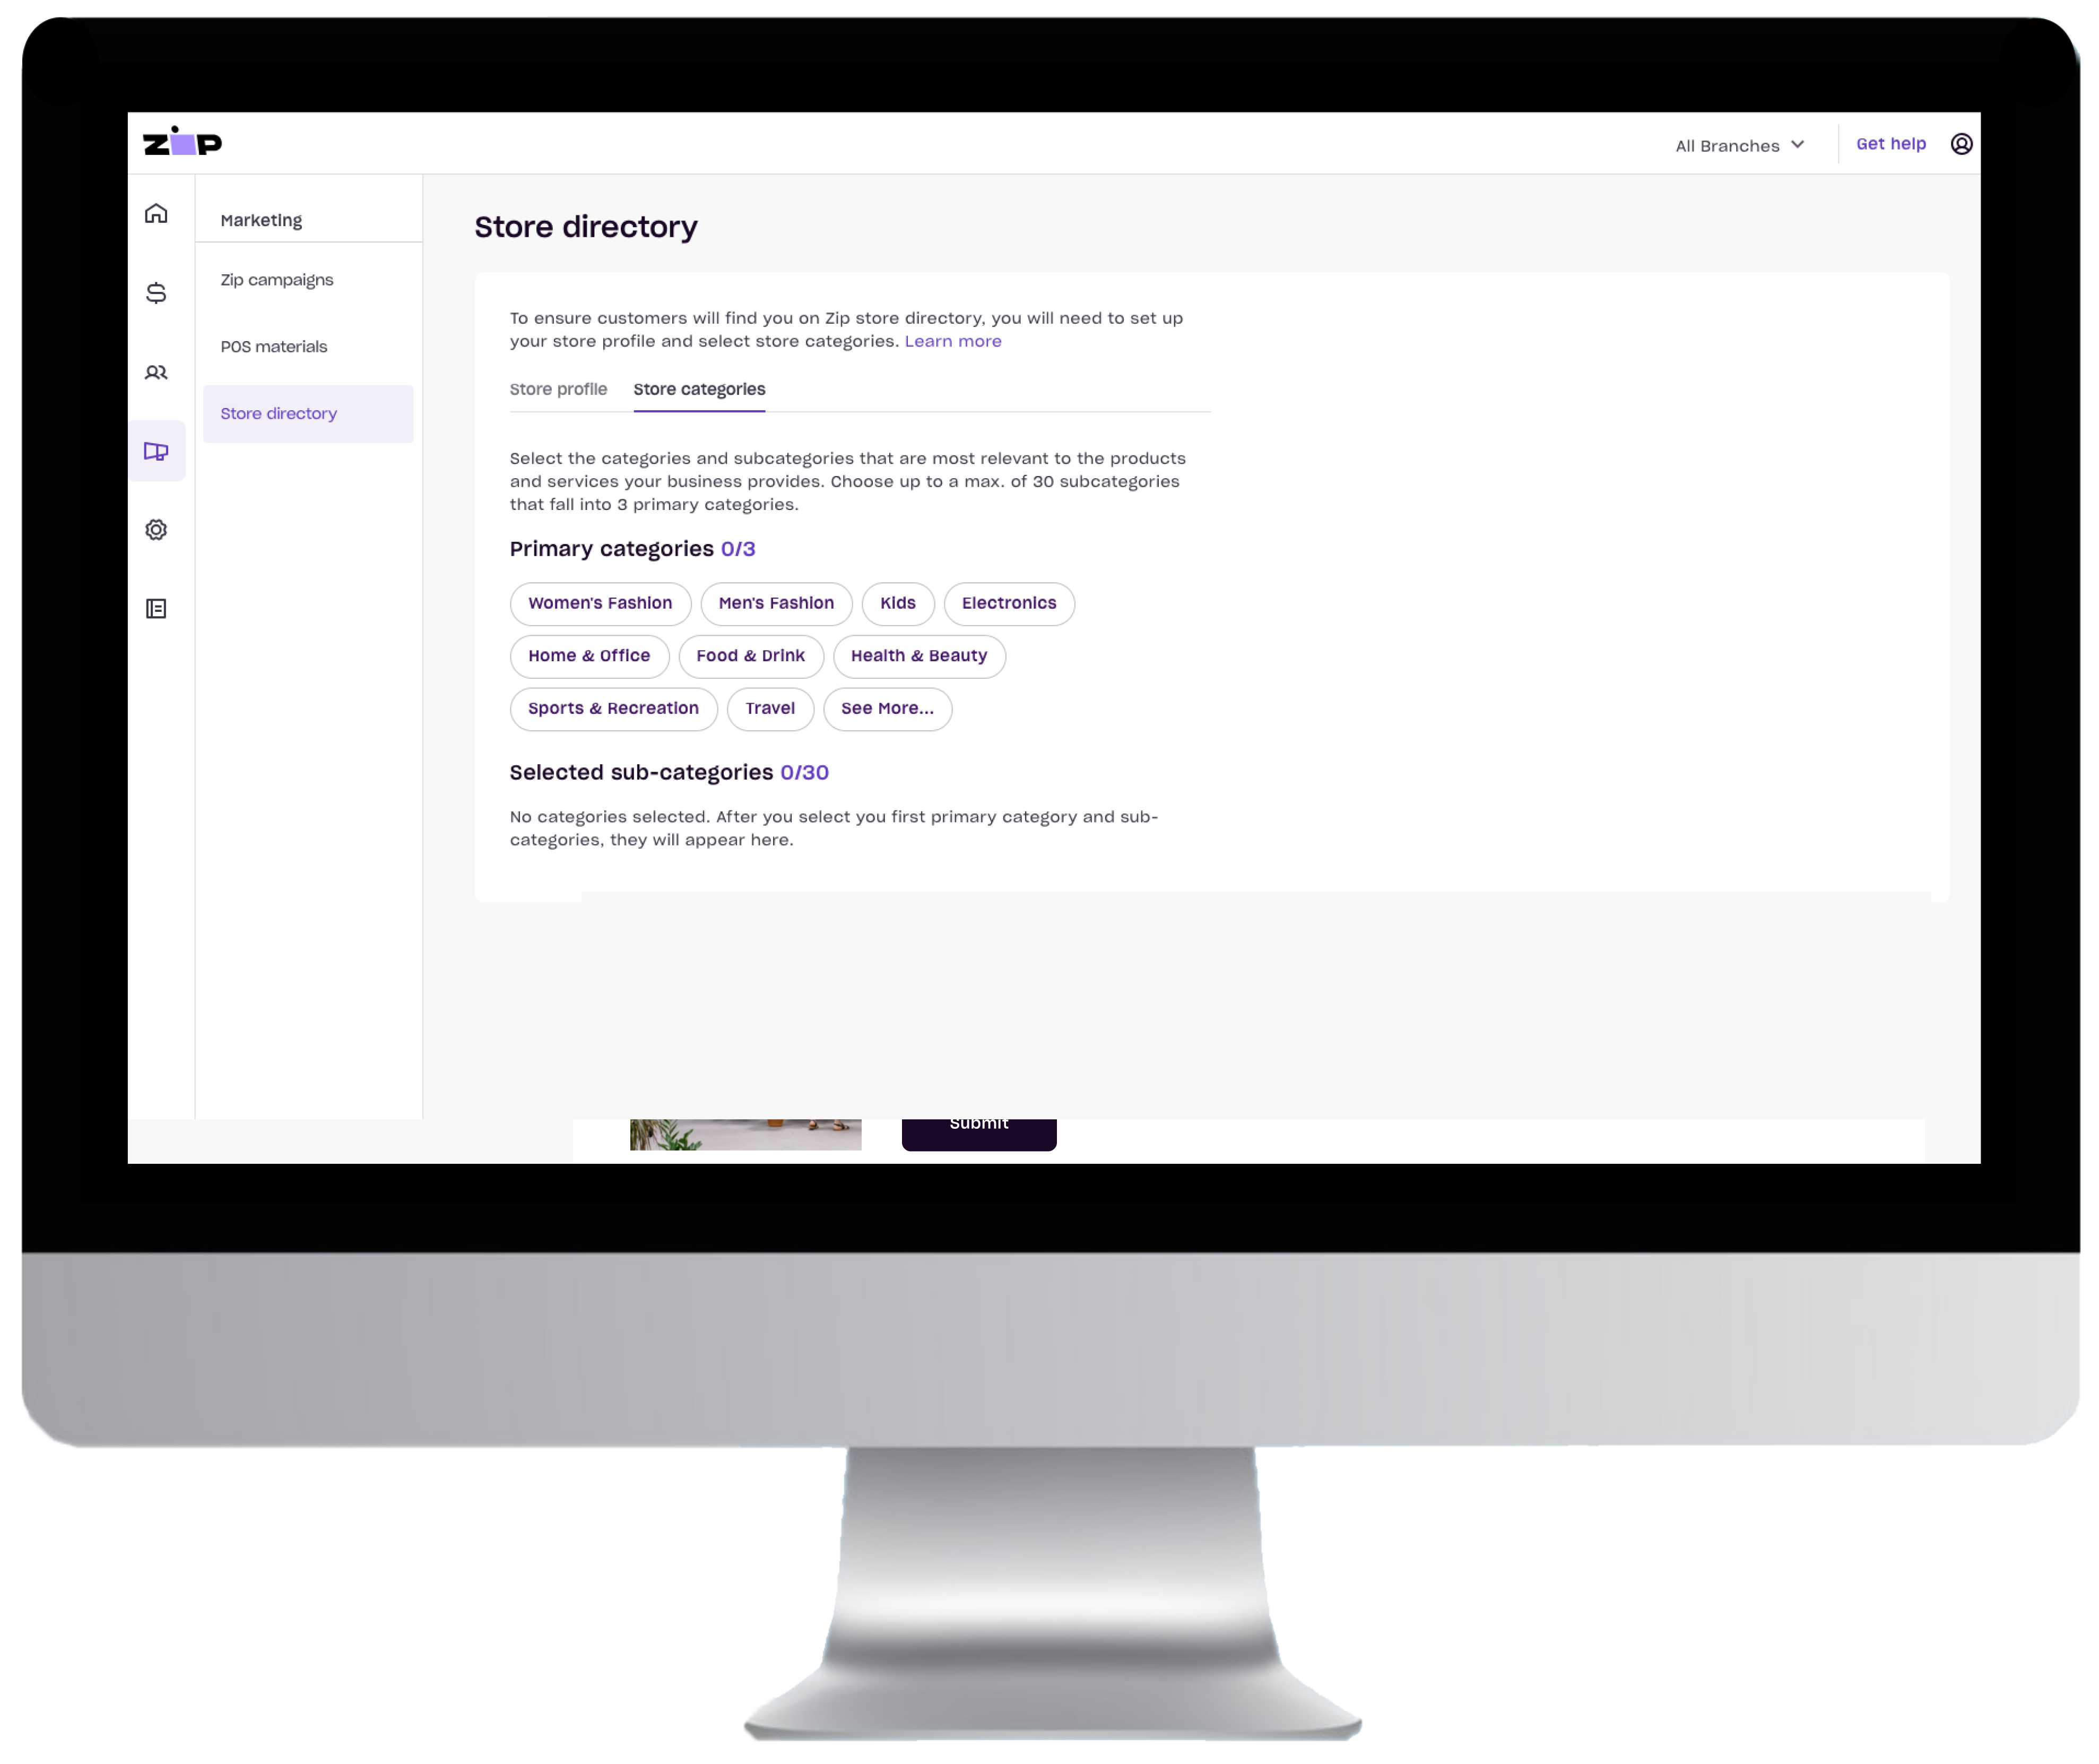
Step 2. Selecting Your Store Categories
Once your tile is built, you are ready to select your store directory categories!
These allow customers to quickly find your business in the Zip store directory.
- Click the 'Marketing' tile from the homepage of the dashboard.
- Click 'Store Categories'.
- Choose the 3 primary categories that best reflect your business and pick up to 30 sub-categories.
- Click Save.