Set up a Zip landing page
WooCommerce
Set up a Zip landing page
The landing page is a dedicated information page to educate customers about the Zip product, while also providing access for customers to pre-apply for their Zip accounts.
Adding the page only takes a few moments and only involves a few simple steps.
Australian Landing Page Example
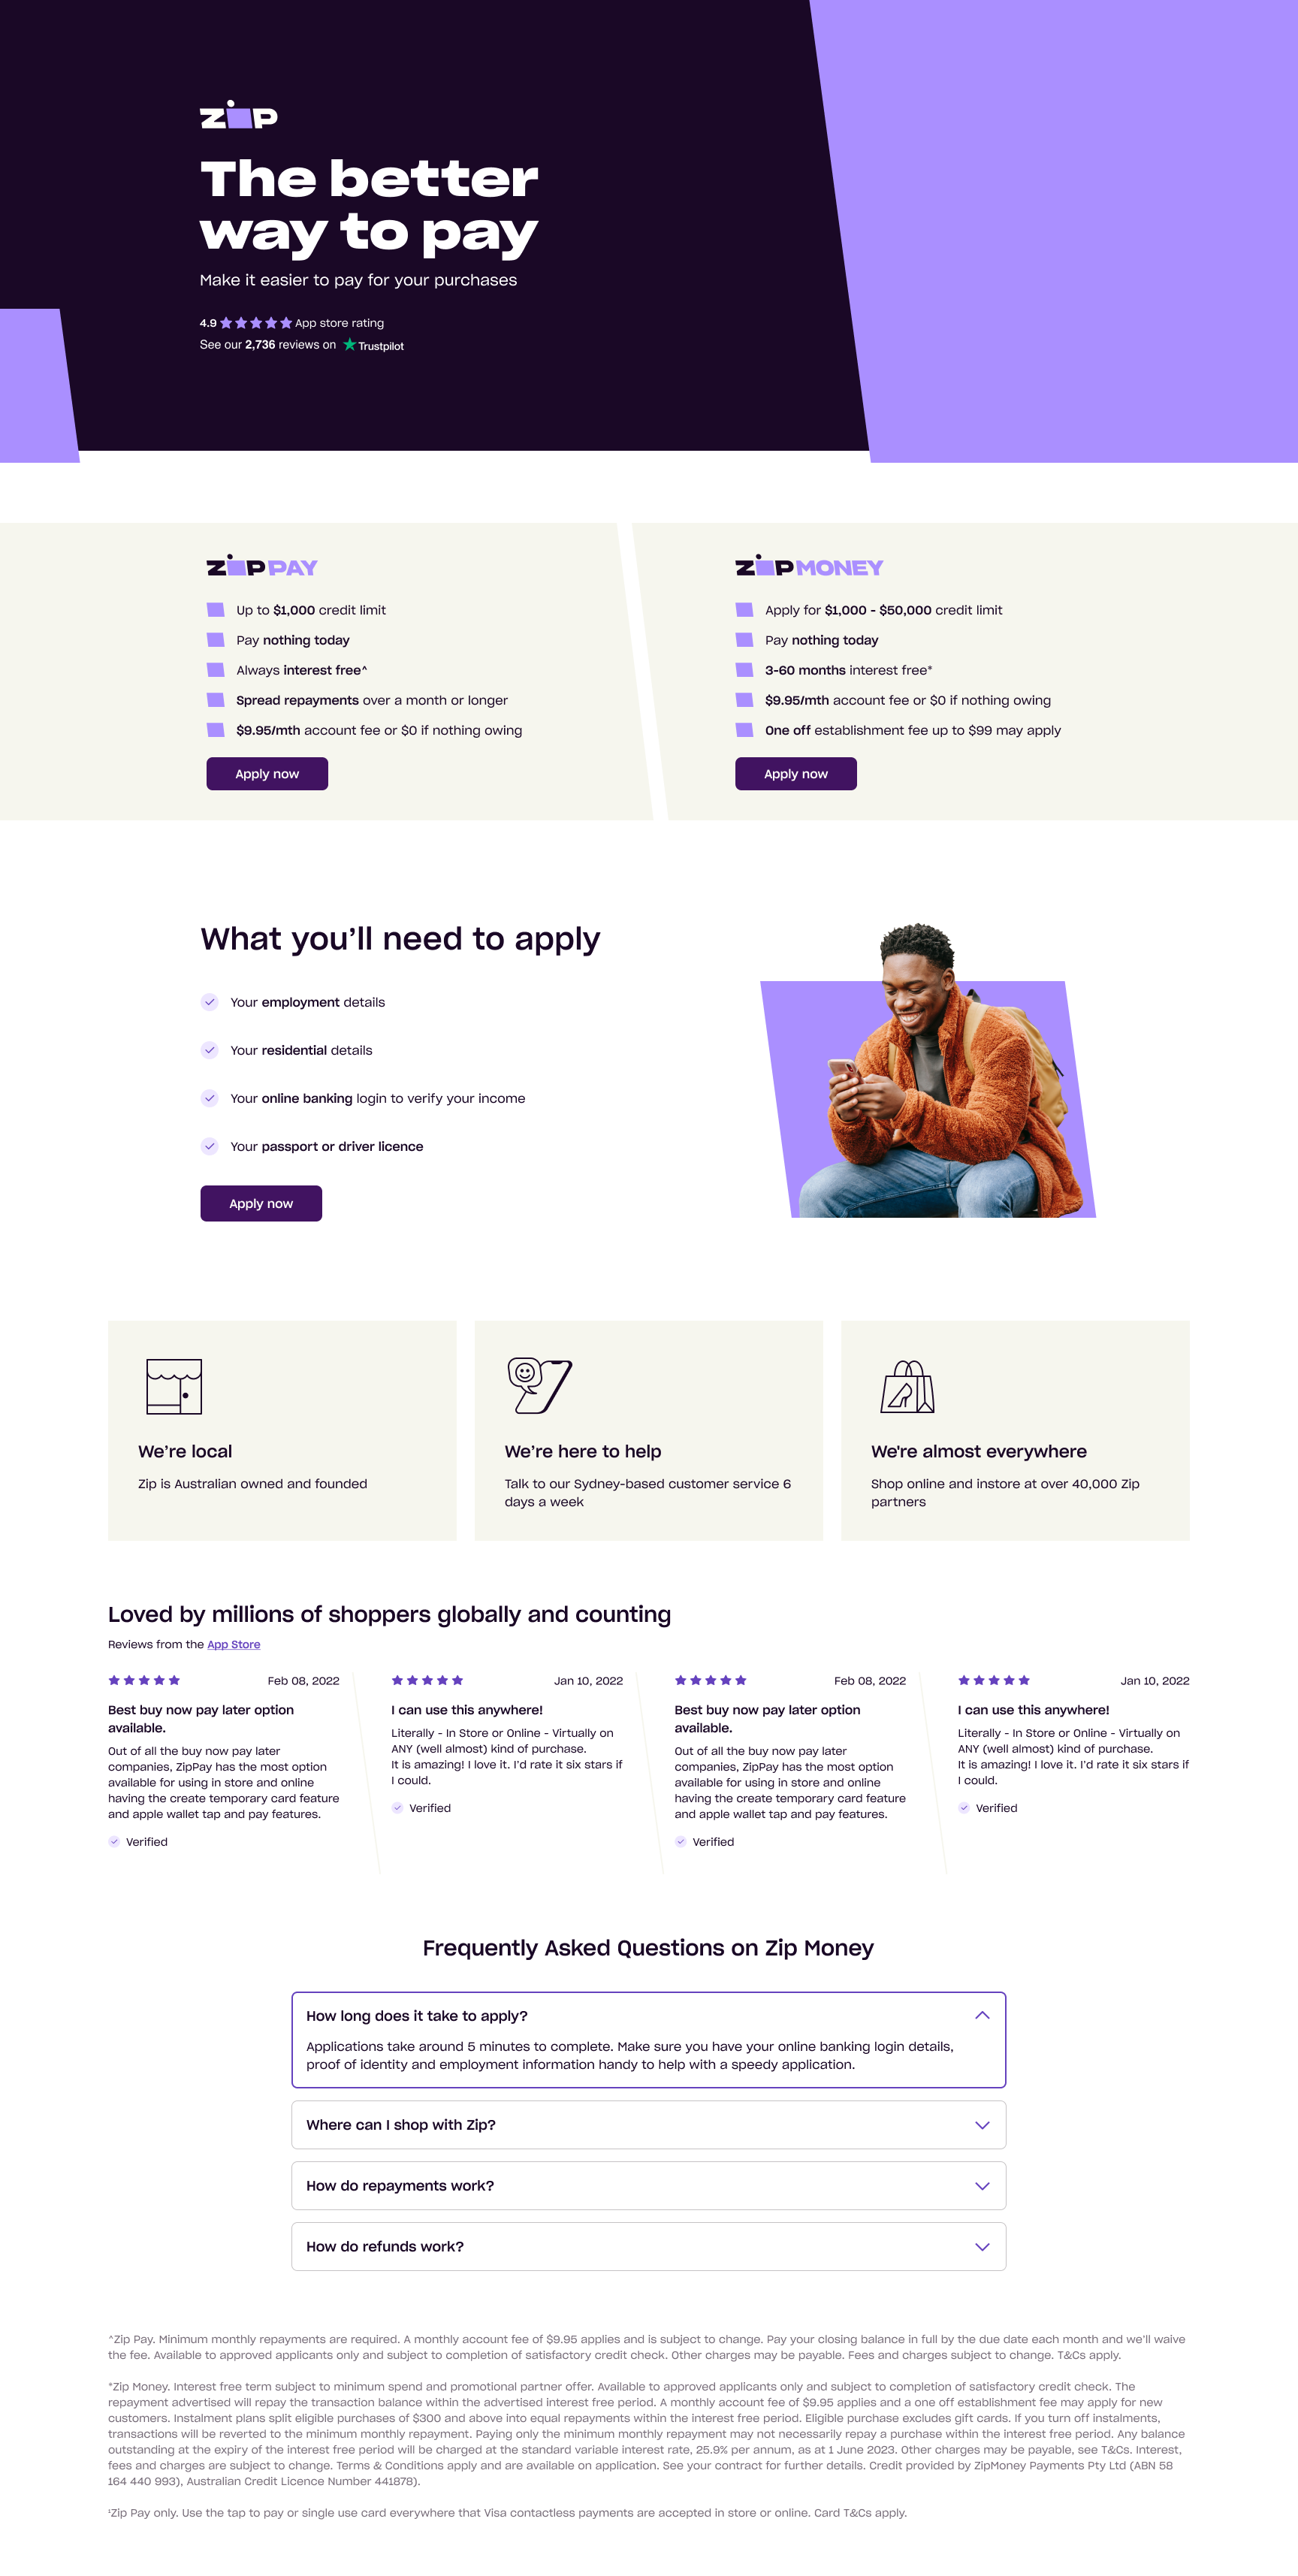
New Zealand Landing Page Example

#3 Tab title here
#3 Tab content here
Dolor sit amet
Ololo pysh pysh
Add a new page
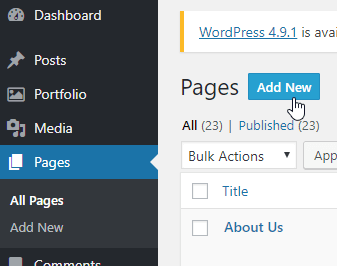
- In the left-hand menu, navigate to Pages > Add New
-
Enter page title: About Zip
-
Click on the "Text" tab or create a "Custom HTML" block (depending on your editor).
-
Copy the Zip Landing Page code below, and Paste it into the text view
<div data-zm-merchant="YOUR ZIP PUBLIC KEY" data-env="production"></div>
<div id="zip-LP" data-zm-asset="landingpage" data-zm-widget="inline"></div>
<zip-information instore="false" online="true" faqs="true"></zip-information><script src="https://zip.co/nz/assets/landing.js"></script>Australian landing page only
For Australian landing page, replace the YOUR ZIP PUBLIC KEY in the above code with your specific Zip Public Key.
Paste your Public Key between the quotation marks " " and ensure there are not white spaces at both ends.
- Click "Save"
Add a Menu Link to the Zip Landing Page
Now you have added the page, you can link it to your footer information menu if there is one in your web store. Simply follow these steps:
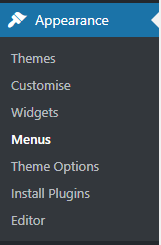
- In the WordPress admin, navigate to Appearance > Menus
-
Select the menu to edit from the drop-down list and click "Select"
-
In the "Pages" info box, tick the checkbox of the Zip page you created in the previous step, and click "Add to Menu" The Zip page should now be added to the bottom of the menu
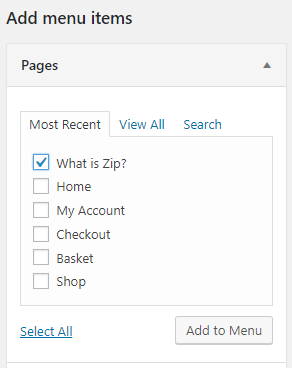
You can also edit the name that appears in the menu by clicking the downward arrow next to the zipPay rectangle.
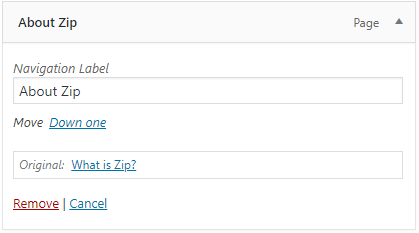
- Click "Save"
Updated 5 months ago
